There’s something deeply satisfying about knowing exactly what’s in your food, especially when you made it yourself with nothing but a jar and some cream. No preservatives, no mystery oils, just real butter from real ingredients.
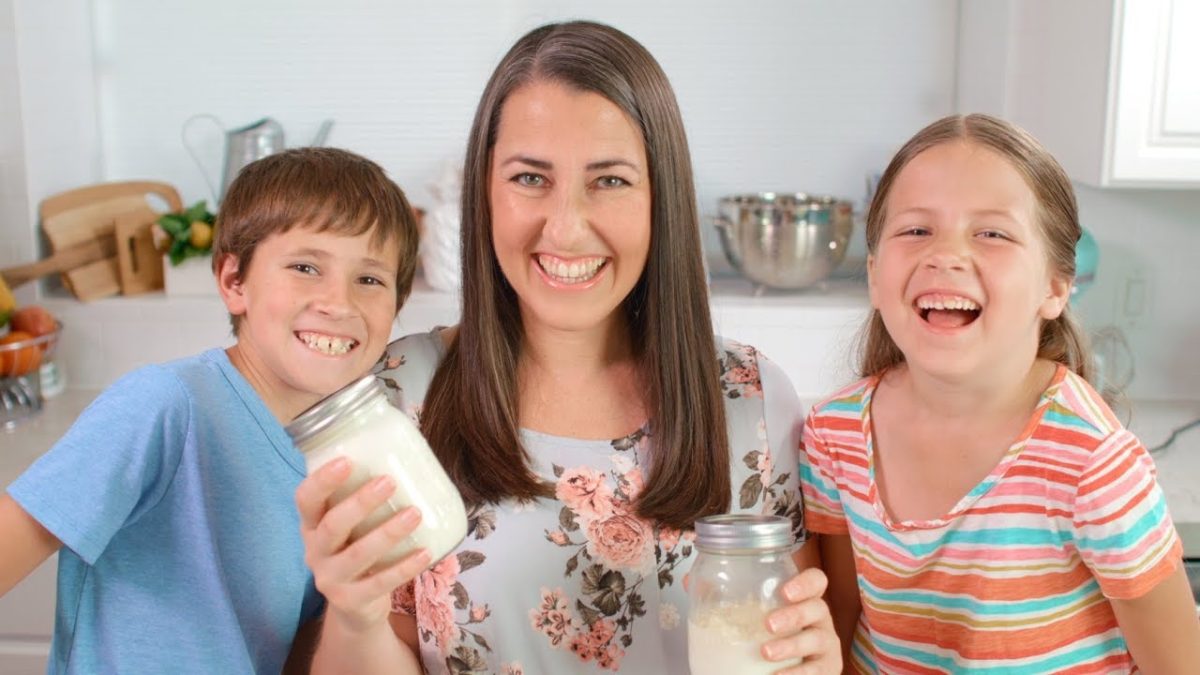
Making butter at home isn’t just a fun activity (though your kids will definitely love shaking the jar). It’s a small but powerful shift. It says: I care what goes into my body. I want my kids to see food made, not just bought. It’s simple, affordable, and honestly kind of addictive once you try it.
If you’re aiming for cleaner ingredients, teaching hands-on skills, or just craving that “I made this” kind of pride, you’re in the right place. Here’s how to do it — no mixer or churn required.
What You’ll Need to Make Butter at Home
You only need one ingredient and one tool, and chances are, you already have both.
Ingredients:
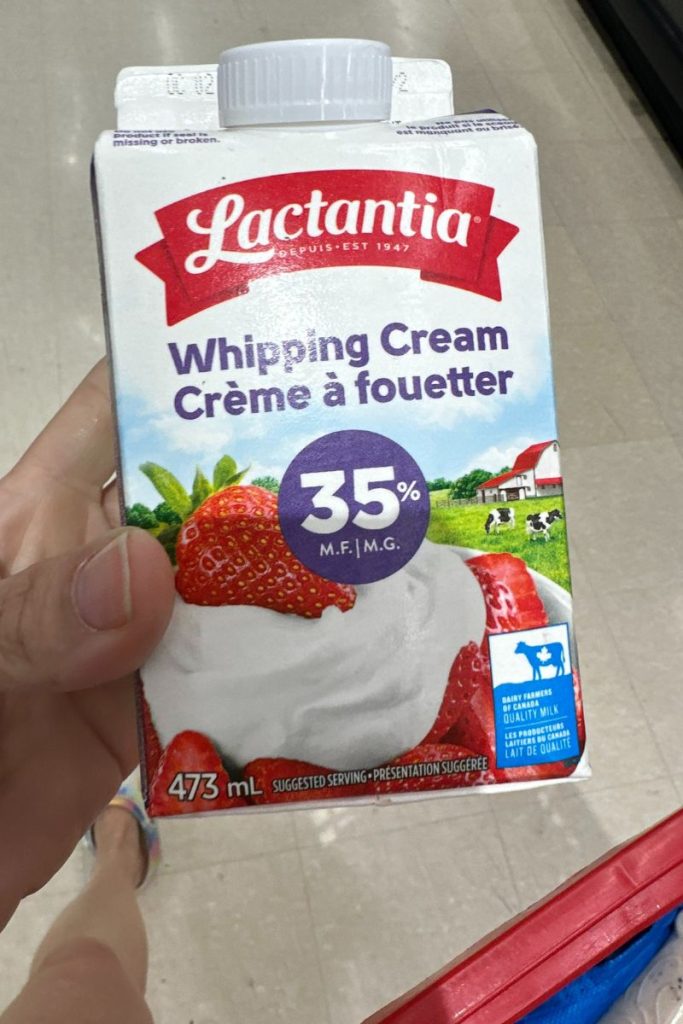
- 1 cup of heavy (35%) whipping cream
Make sure it’s cold and ideally not ultra-pasteurized. The fresher the cream, the better the butter. - Salt (optional)
You don’t need salt to make butter, it’s there for flavor, not function. Start with 1/4 teaspoon if you like salted butter, or leave it out and stir it in after.
Tools:
- A mason jar with a tight-fitting lid
Pint-sized works best. It gives the cream enough room to move as it transforms.
That’s it. No churn, no mixer, no special equipment. Just cream, a jar, and a few minutes of shaking. It’s the kind of thing that feels like a science project, a workout, and a snack all rolled into one, especially if you let the kids take turns.
Step-by-Step: How to Make Butter in a Jar
Once you’ve got your cream and your jar, the rest is all in the shake. Here’s exactly what to do, and what to expect at each stage.
1. Pour the Cream
Fill your mason jar about halfway with cold heavy cream. This gives the cream room to move and churn inside as you shake. If you’re adding salt, toss it in now.
2. Seal and Shake
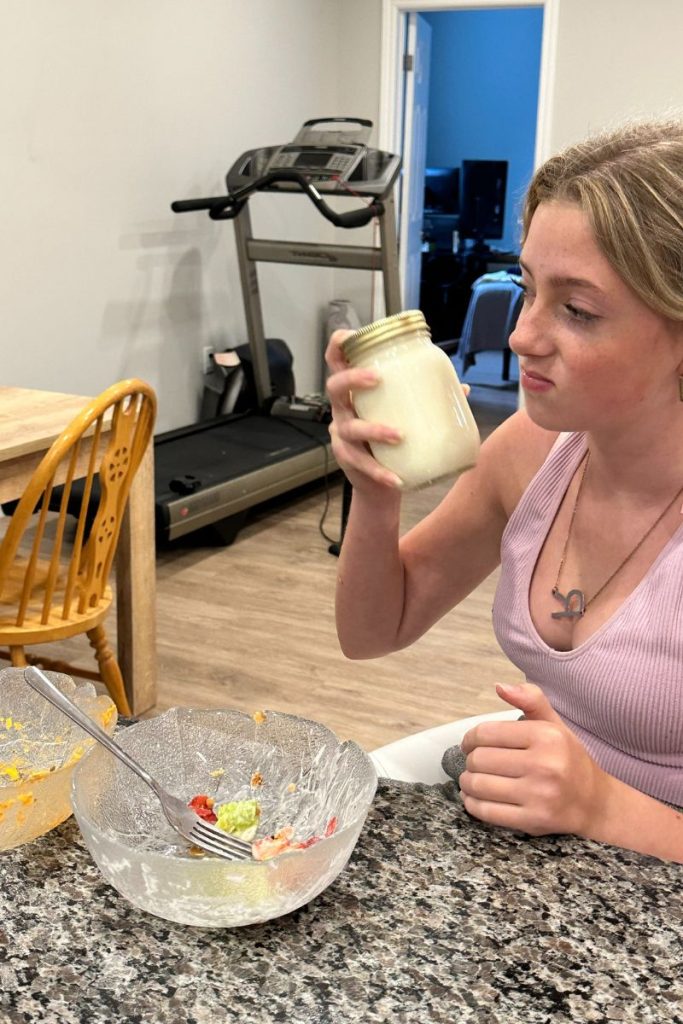
Tightly close the lid, and start shaking. Hold the jar with both hands and shake up and down like you’re mixing a cocktail. After a minute or two, you’ll notice the cream thickening. Keep going.
Tip: If you’re doing this with kids, take turns or play a short song while they shake.
3. Watch the Stages
- First, it’ll turn into whipped cream.
- Then it gets grainy.
- Then suddenly, the butter will separate from the buttermilk, you’ll hear a slosh and see a yellow lump forming.
This is where most people think they’ve messed it up. But that slosh? That’s success.
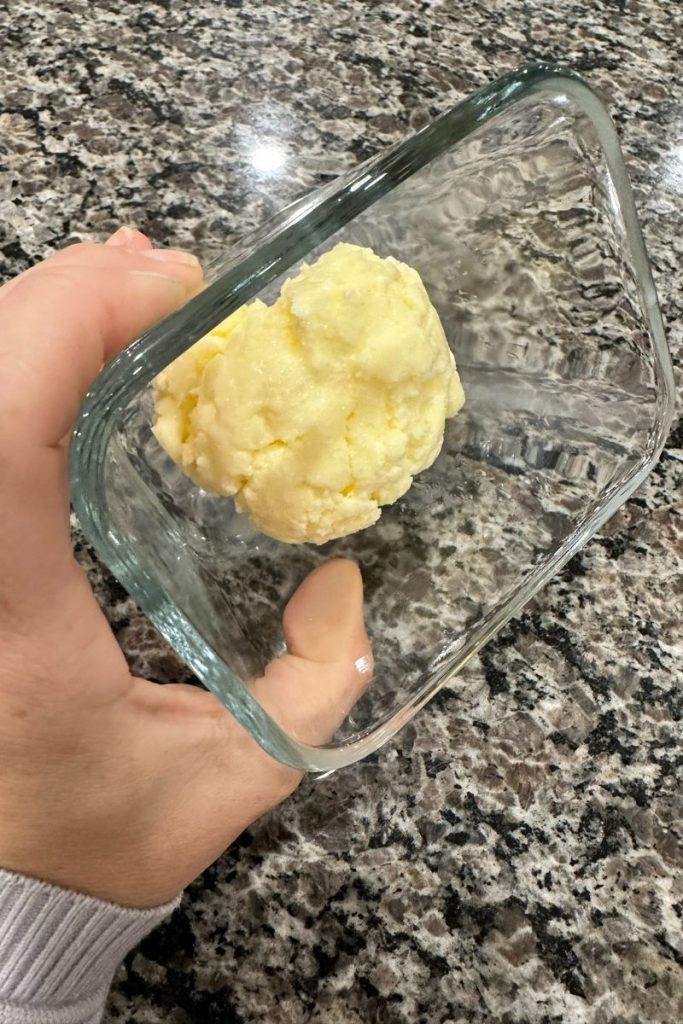
4. Strain and Rinse
Open the jar and pour off the buttermilk (save it for baking if you want). You’ll be left with a ball of fresh butter. Rinse it gently under cold water while pressing it with a spoon or spatula to remove any leftover liquid.
5. Store and Enjoy
Transfer your butter to a clean container, add more salt if needed, and store it in the fridge. It’ll last about a week or two, if it doesn’t get devoured sooner.
What’s Actually Happening When You Make Butter?
If you’ve ever wondered how shaking cream turns into butter, here’s the short version: you’re breaking fat globules apart so they can stick together.
That’s it. It’s more physics than magic — but still pretty cool to watch.
Cream Is an Emulsion
Heavy cream is mostly water and fat. The fat floats around in tiny globules, each protected by a membrane that keeps them from clumping together.
Shaking Breaks the Barrier
When you shake the jar, you’re applying mechanical force. This force starts to break the fat globule membranes. As those membranes rupture, the fat can finally stick together.
Whipped Cream Comes First
As air gets incorporated, the cream thickens into whipped cream. If you stop here, you’ve got a fluffy dessert topping. But keep going…
The Split: Butter + Buttermilk
Once enough fat clumps together, it squeezes out the liquid (that’s buttermilk). What’s left is a solid yellow lump — real butter — and the satisfying sound of sloshy success.
Good to know: This isn’t a chemical change. You’re not turning cream into something else. You’re just physically forcing the fat to gather and separate. Simple mechanics, delicious results.

Want Whipped Cream Instead? Just Stop Early
If you shake the jar and stop before the fat separates, you’ll get whipped cream — light, fluffy, and perfect for topping fruit, pancakes, or desserts.
Here’s how to catch it at the right moment:
- Use cold heavy cream
- Shake the jar until it thickens and roughly doubles in volume
- Stop before it gets grainy or starts to separate
- Add a little sweetener and vanilla if you like
Once you pass the whipped cream stage, there’s no going back — so if that’s what you’re after, shake with intention and keep checking the texture.
Homemade Butter FAQs
🧂 Do I need salt to make butter?
Nope! Salt is optional. It adds flavor and can help preserve the butter, but the butter-making process works just fine without it. You can always stir in salt at the end to taste.
🥛 What kind of cream should I use?
Look for 35% heavy whipping cream, ideally not ultra-pasteurized. The fresher and higher-fat the cream, the better your butter will be.
⏳ How long does it take?
Usually 5 to 10 minutes of shaking, depending on how vigorously you go and how cold the cream is. It’s faster if you pass the jar around or shake to music.
🧈 How long does homemade butter last?
Stored in an airtight container in the fridge, it’ll stay fresh for 7 to 10 days. For longer storage, freeze it in small portions.
🌿 Can I flavor my butter?
Absolutely. After you strain and rinse the butter, mix in anything from herbs and garlic to honey and cinnamon. Homemade compound butter makes toast, veggies, or pasta next-level.
🤔 Why didn’t mine turn into butter?
If you shook it for less than 5 minutes, just keep going. Cold cream and a half-filled jar help. If it’s still not working, check that you’re using real cream (not a low-fat or imitation product).
Why Make Butter at Home?
Sure, you can buy butter. But there’s a different kind of satisfaction that comes from making it yourself.
When you make butter at home, you know exactly what’s in it. No preservatives. No fillers. No plastic tub. Just real cream, turned into something rich and spreadable with your own hands. It’s a small step that helps you feel more connected to your food, your kitchen, and your habits.
It’s also fun. Kids love watching cream turn into something they can eat. And let’s be honest, it feels pretty good as an adult too when that golden lump finally appears in the jar. It’s hands-on, inexpensive, and turns something ordinary into something kind of magical.
If you’re looking for simple ways to use fewer processed foods, build awareness around what you eat, or share a hands-on moment with your kids, this one’s worth a try.
Try This Next: Flavor Ideas and Serving Inspiration
Once you’ve made your own butter, you might find yourself reaching for it more than anything store-bought. And plain butter is just the beginning.
Flavor Boosters
After you’ve rinsed and pressed out the buttermilk, try mixing in a few simple ingredients to make it your own:
- Garlic and herbs like rosemary, chives, dill, or thyme
- Cinnamon and honey for something warm and sweet
- Lemon zest and cracked pepper if you like a fresh, savory kick
- Crushed berries for a fruity twist kids will love
Just stir your add-ins into the soft butter with a spoon or spatula. If you want to chill and slice it later, roll it into a log using parchment paper and pop it in the fridge.
Easy Ways to Use It
- Spread it on warm toast, muffins, or pancakes
- Melt it over roasted vegetables or cooked pasta
- Stir it into mashed potatoes or scrambled eggs
- Use it on rice or noodles for instant comfort
Homemade butter adds a noticeable richness to everyday meals. Once you try flavoring it yourself, you might wonder why you didn’t do this sooner.
Try It Once. You Might Never Go Back
There’s something deeply satisfying about making your own butter. It’s simple. It’s hands-on. And it gives you that rare moment where a small effort turns into something real and useful.
Whether you try this with your kids, on a quiet afternoon, or just because you’re curious, it’s a small shift that feels good. You’ll see cream change right in front of you. You’ll taste the difference. And you might even start to see yourself as someone who makes things with intention.
All you need is a jar, some cream, and a few minutes of movement. The results are worth it.
